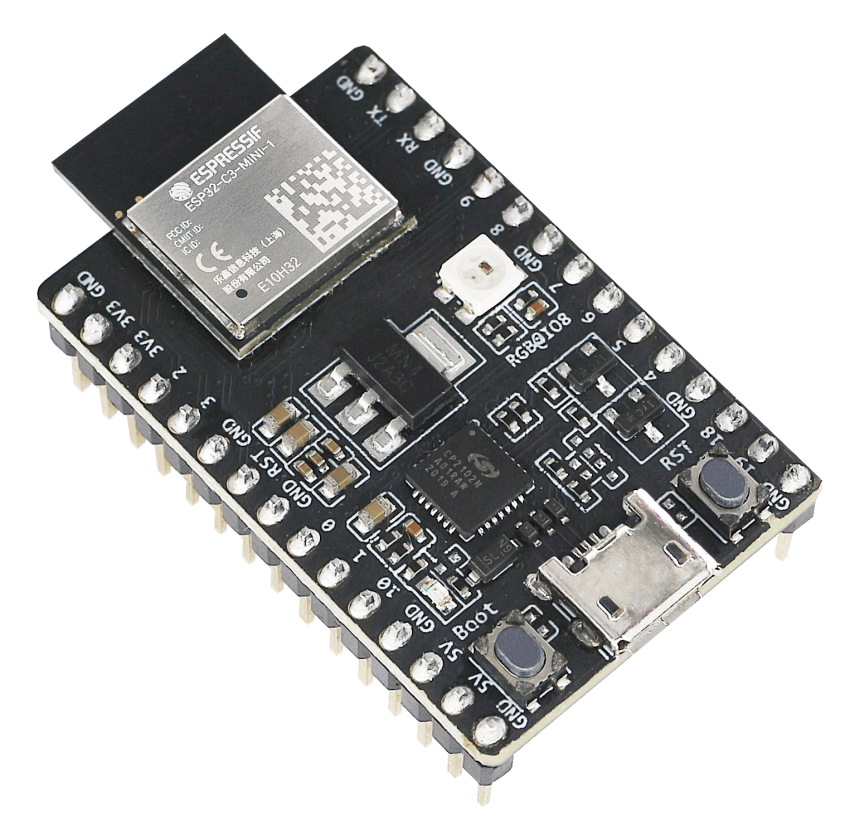
ESP32-C3

The following files are firmware images that should work on most ESP32-C3-based boards with 4MiB or more of flash, including WROOM and MINI modules, that use the revision 3 silicon (or newer).
USB serial/JTAG support is enabled on pin 18 and 19. Note that this is not a full USB stack, the C3 just provides a CDC/ACM class serial and JTAG interface.
Installation instructions
Program your board using the esptool.py program, found here.
Windows users: You may find the installed program is called esptool instead of esptool.py.
Erasing
If you are putting MicroPython on your board for the first time then you should first erase the entire flash using:
esptool.py erase_flash
esptool.py will try to detect the serial port with the ESP32 automatically,
but if this fails or there might be more than one Espressif-based device
attached to your computer then pass the --port option with the name of the
target serial port. For example:
esptool.py --port PORTNAME erase_flash
- On Linux, the port name is usually similar to
/dev/ttyUSBor/dev/ttyACM0. - On Mac, the port name is usually similar to
/dev/cu.usbmodem01. - On Windows, the port name is usually similar to
COM4.
Flashing
Then deploy the firmware to the board, starting at address 0:
esptool.py --baud 460800 write_flash 0 ESP32_BOARD_NAME-DATE-VERSION.bin
Replace ESP32_BOARD_NAME-DATE-VERSION.bin with the .bin file downloaded from this page.
As above, if esptool.py can't automatically detect the serial port
then you can pass it explicitly on the command line instead. For example:
esptool.py --port PORTNAME --baud 460800 write_flash 0 ESP32_BOARD_NAME-DATE-VERSION.bin
Troubleshooting
If flashing starts and then fails partway through, try removing the --baud 460800 option to flash at the slower default speed.
If these steps don't work, consult the MicroPython ESP32 Troubleshooting steps and the esptool documentation.
Important: From the options below, download the .bin file for your board.
Firmware
Releases
Preview builds
These are automatic builds of the development branch for the next release.