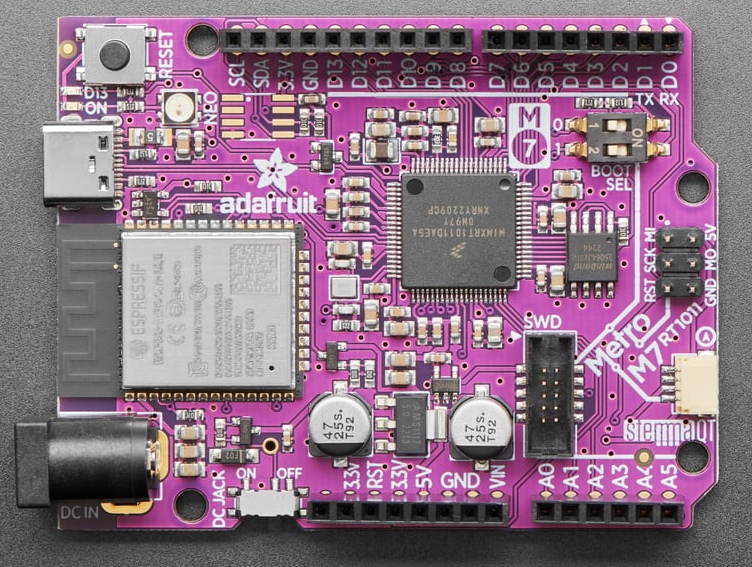
Adafruit Metro M7

Vendor: Adafruit
Features: BLE, External Flash, JST-SH, RGB LED, USB-C, WiFi
Source on GitHub: mimxrt/ADAFRUIT_METRO_M7
More info: Website

Installation instructions

1. Deploy the MicroPython firmware to the Metro M7 board.

1.1 Deploy the firmware using the serial bootloader.

For initial deployment of the firmware a few preparation steps are required, which have to be done once.

  1. Get the files ufconv.py and uf2families.json from the micropython/tools directory, e.g. at https://github.com/micropython/micropython/tree/master/tools.

  2. Get the NXP program sdphost for your operating system, e.g. from https://github.com/adafruit/tinyuf2/tree/master/ports/mimxrt10xx/sdphost. You can also get them from the NXP web sites.

  3. Get the UF2 boot-loader package https://github.com/adafruit/tinyuf2/releases/download/0.9.0/tinyuf2-imxrt1010_evk-0.9.0.zip and extract the file tinyuf2-imxrt1010_evk-0.9.0.bin.

Now you have all files at hand that you will need for updating.

  1. Get the firmware you want to upload from the MicroPython download page.

  2. Set the two BOOTSEL DIP switches to the 1/0 position, which is the opposite position of the normal use mode.

  3. Push the reset button.

  4. Run the commands:

sudo ./sdphost -u 0x1fc9,0x0145 -- write-file 0x20206400 tinyuf2-imxrt1010_evk-0.9.0.bin
sudo ./sdphost -u 0x1fc9,0x0145 -- jump-address 0x20207000

Wait until a drive icon appears on the computer (or mount it explicitly), and then run:

python3 uf2conv.py <firmware_xx.yy.zz.hex> --base 0x60000400 -f 0x4fb2d5bd

You can put all of that in a script. Just add a short wait before the 3rd command to let the drive connect.

  1. Once the upload is finished, set the BOOTSEL DIP switches back to the 0/1 position and push reset.

Using sudo is Linux specific. You may not need it at all, if the access rights are set properly, and you will not need it for Windows.

1.2 Deploy the firmware using a JTAG adapter.

With a JTAG adapter the firmware can be easily installed. Appropriate tools are Segger JFlash Lite and the Segger Edu Mini adapter. Just use the firmware.hex file for loading, which will be loaded at the proper address.

2. Deploy the WiFi firmware.

The NINA firmware in the NINA module has to be updated for use with MicroPython. That can be done using MicroPython and two small Python scripts.

The firmware binaries are available at https://github.com/micropython/micropython-lib/tree/master/micropython/espflash or https://github.com/robert-hh/Shared-Stuff. For the Metro M7 board, the NINA_FW_v1.5.0_Airlift.bin file is needed.

For firmware upload, the following connections to the WiFi module are required:

  • Pin Reset (as above)
  • Pin GPIO0
  • UART RX
  • UART TX

The GPIO pins and UART device id varies between boards. At the Adafruit Metro M7 board, the UART is UART(1), and the Pin names for reset and GPIO0 are ESP_RESET and ESP_GPIO0. The firmware can be uploaded, using the espflash.py module, a short script using espflash.py and mpremote. espflash.py is available at https://github.com/micropython/micropython-lib/tree/master/micropython/espflash. This place also holds the example script.

import espflash
from machine import Pin
from machine import UART
import sys
sys.path.append("/flash")

reset = Pin("ESP_RESET", Pin.OUT)
gpio0 = Pin("ESP_GPIO0", Pin.OUT)
uart = UART(0, 115200, timeout=350)

md5sum = b"b0b9ab23da820a469e597c41364acb3a"
path = "/remote/NINA_FW_v1.5.0_Airlift.bin"

esp = espflash.ESPFlash(reset, gpio0, uart)
# Enter bootloader download mode, at 115200
esp.bootloader()
# Can now change to higher/lower baud rate
esp.set_baudrate(921600)
# Must call this first before any flash functions.
esp.flash_attach()
# Read flash size
size = esp.flash_read_size()
# Configure flash parameters.
esp.flash_config(size)
# Write firmware image from internal storage.
esp.flash_write_file(path)
# Compares file and flash MD5 checksum.
esp.flash_verify_file(path, md5sum)
# Resets the ESP32 chip.
esp.reboot()

The script shows the set-up for the Metro M7 board. The md5sum is the one of the WiFi firmware. It may change and can be recalculated using e.g. the Linux md5sum command. It is used to verify the firmware upload. To upload the firmware, place the firmware and the above script (let's call it ninaflash.py) into the same directory on your PC, and run the command:

mpremote connect <port> mount . run ninaflash.py

After a while, the upload will start. A typical start sequence looks like:

Local directory . is mounted at /remote
Failed to read response to command 8.
Changing baudrate => 921600
Flash attached
Flash size 2.0 MBytes
Flash write size: 1310720 total_blocks: 320 block size: 4096
Writing sequence number 0/320...
Writing sequence number 1/320...
Writing sequence number 2/320...
Writing sequence number 3/320...
Writing sequence number 4/320...
....
....
Writing sequence number 317/320...
Writing sequence number 318/320...
Writing sequence number 319/320...
Flash write finished
Flash verify: File  MD5 b'b0b9ab23da820a469e597c41364acb3a'
Flash verify: Flash MD5 b'b0b9ab23da820a469e597c41364acb3a'
Firmware verified.

The initial messages Failed to read response to command 8. can be ignored.

Firmware

Releases

v1.22.2 (2024-02-22) .hex / [.bin] / [Release notes] (latest)
v1.22.1 (2024-01-05) .hex / [.bin] / [Release notes]
v1.22.0 (2023-12-27) .hex / [.bin] / [Release notes]
v1.21.0 (2023-10-05) .hex / [.bin] / [Release notes]

Preview builds

v1.23.0-preview.324.gd11ca092f (2024-04-17) .hex / [.bin]
v1.23.0-preview.323.g53d005025 (2024-04-15) .hex / [.bin]
v1.23.0-preview.322.g5114f2c1e (2024-03-30) .hex / [.bin]
v1.23.0-preview.319.g87d821ab4 (2024-03-29) .hex / [.bin]
(These are automatic builds of the development branch for the next release)